Imagine you have some pre-release checks you want to run in an Azure DevOps Release Pipeline. Depending on the result of the Pre-Release check you may wish to run a Manual Intervention task to approve or reject the release.
It can be a little tricky to get this working out the box, but this post will walk you through one way of doing it with classic pipelines.
Pre-Requisites
-
We’ll need some way of persisting variables between jobs in a Stage and this is not supported out of the box in a classic pipeline.
Before starting, head over to SetReleaseVariable on GitHub and follow the instructions to import the
Set Release Variabletask.
Run Pre-Deployment Checks
-
We’re going to add 2 Pipeline Variables.
IsManualInterventionRequiredwill be a Boolean flag to tell us whether or not we need to run theManual Intervention.PreDeploymentResultsis a container for values, results, messages, etc. to display feedback to the user in theManual Interventionwindow.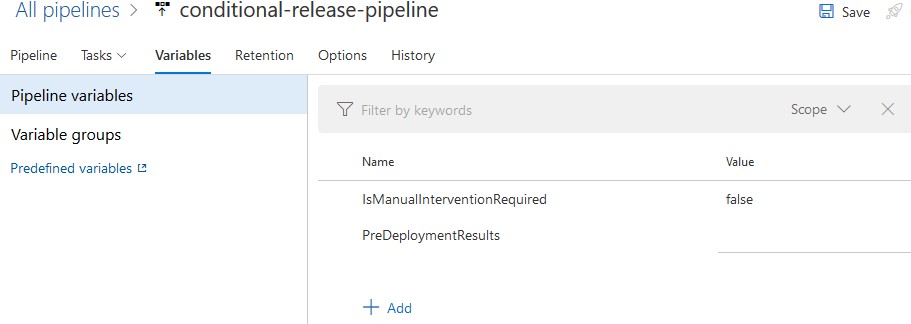
-
Add an
Agent Jobto your stage.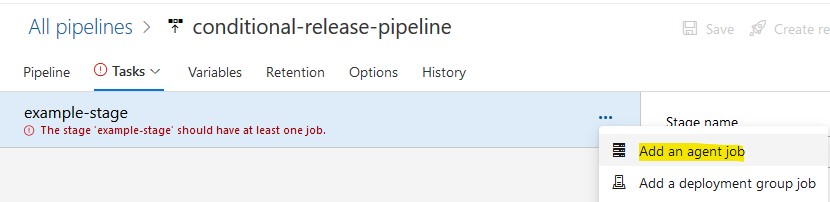
-
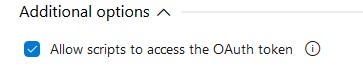
Make sure “Allow scripts to access the OAuth token” is checked.
-
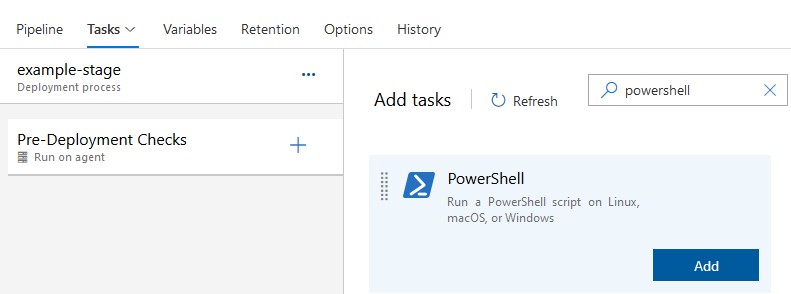
I’ve named the Job “Pre-Deployment Checks”. Now add a PowerShell task.
-
For this example we will simply set the variables manually. Obviously in practice you would set the variables conditionally as an output from your own script
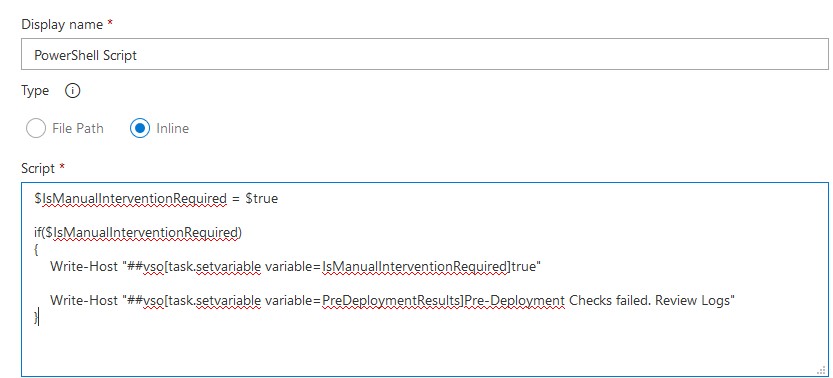
-
If your
PreDeploymentResultsoutputs a multine string, you will need to follow these instructions. -
We need to persist the variable values to the next job. Add the
Set Release Variabletask you imported earlier.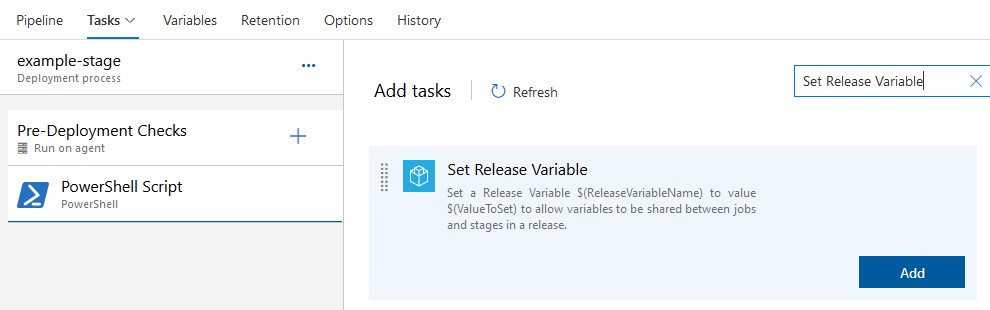
-
Although we seem to be setting the variable to it’s own value, it’s necessary to do it this way otherwise the current value will be lost at the end of the current stage. Repeat for the
IsManualInterventionRequiredandPreDeploymentResultsvariables.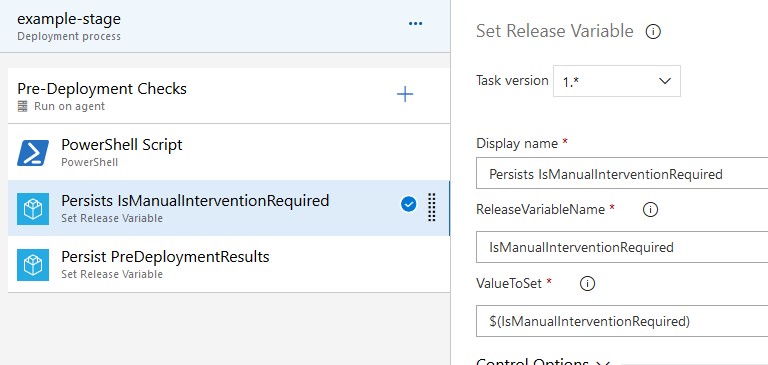
Conditionally Run Manual Intervention
-
Now add an
Agentless Jobto host ourManual Intervention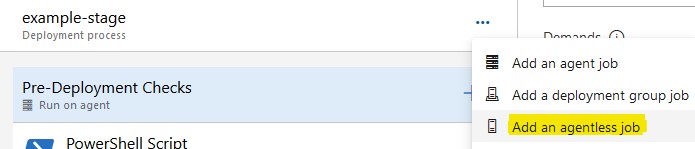
-
I’ve called the task “Confirm Go-Ahead if Pre-Deployment Checks Fail”.
Under
Additional Options\Run this jobmake sure thatCustom condition using variable expressionsis selected.Set the ``Variable expression to
eq(variables['IsManualInterventionRequired'],'true').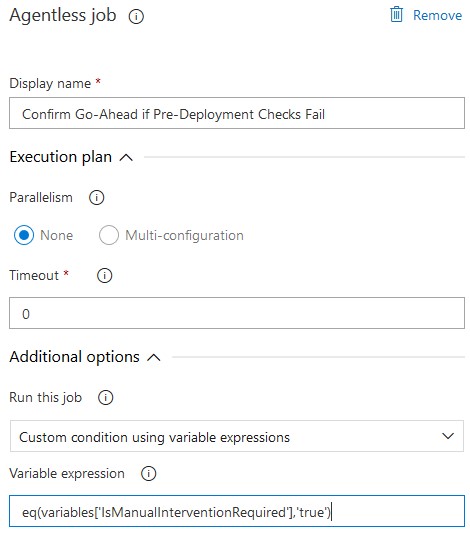
-
Now we can add a
Manual Interventiontask.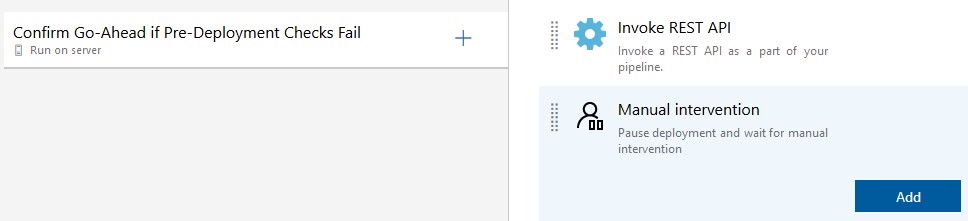
-
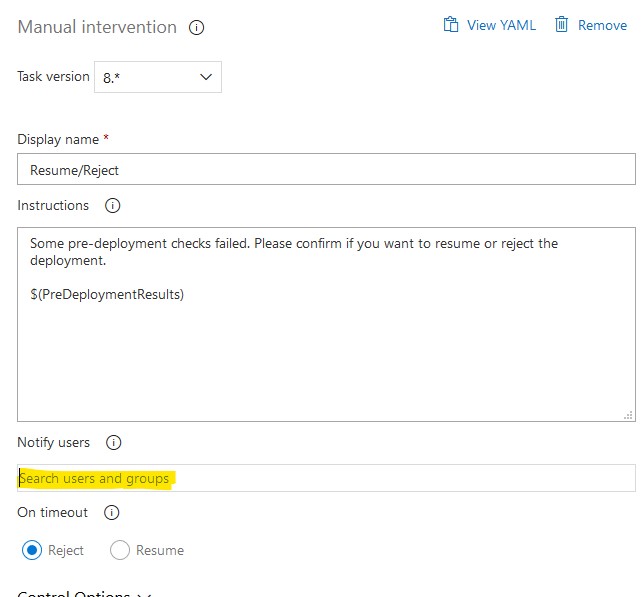
You can set the “Display name”, which is what will be shown in the Pipeline runs.
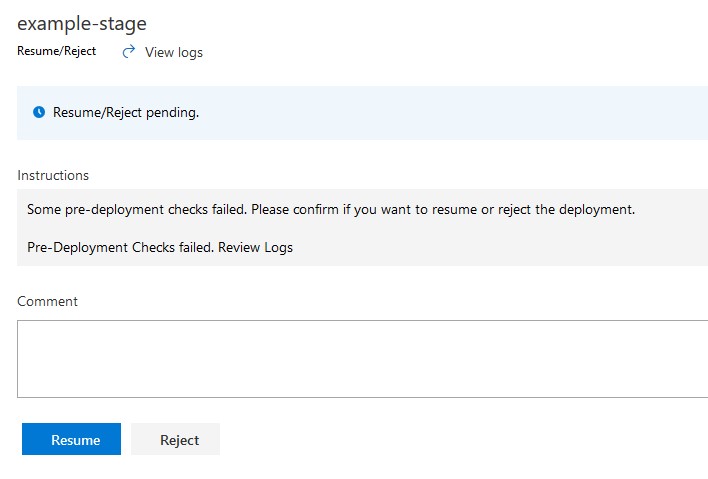
In the instructions, note that we are displaying the
PreDeploymentResultsvariable we persisted from the last job.You will probably want to choose a User(s) or Group(s) to receive an email when a confirmation is pending. It contains a deep-link to the form to Resume/Reject the deployment.
The actual deployment
-
For the purposes of this article I am going to add an
Agentless jobcalled “Do Deployment”. In practice you would add aDeployment group jobor anAgent jobto run your actual deployment.Note that we need to make sure that, under
Additional options,Run this jobis set toOnly when all previous jobs have succeeded.
Testing the pipeline
-
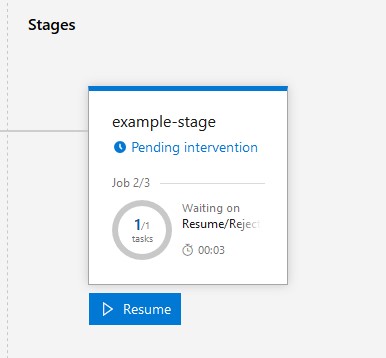
If we create a Release, it will now run the Conditional Resume/Reject stage as expected:
-
Clicking “Resume” under the stage (or following the link in the notification email) gives us the option to Resume/Reject the deployment and leave a comment as to why.
-
If we Reject the release, then we can see that it will skip any further jobs in the stage.

-
If we Resume the release we can see that it will successfully run the deployment to the end.

-
Finally if we go back to the
Powershell Scripttask in thePre-Deployment Checksjob and set$IsManualInterventionRequired = $false, we can see that theManual Interventionstep is now skipped completely and the deployment runs to the end.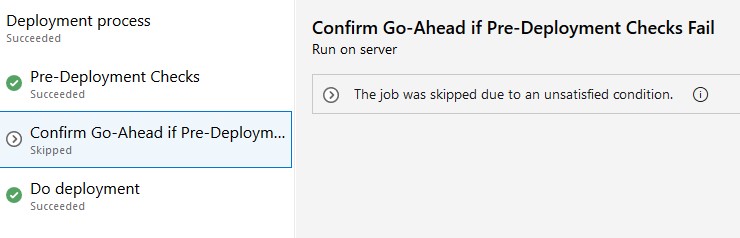
azure-devops